Thursday, 30 January 2014

DIY - Handheld Hotwire Cutter

I thought I would share my experiences sourcing parts for the new Handheld Hotwire Cutter I have just completed.  Previously I used wire from a TV coil hooked up to various car battery chargers that had a factory set current output.  These worked occasionally but you never had much control of the wire temperature. 

Hotwire Foam Cutter
After scouring the pages of ebay I came across a neat little hot wire power supply from Australia. There were 2 options for maximum wire length(when used with the recommended nichrome wire) of 1m and 1.5m and the unit ended up costing around $100.  I went for the 1m version as I will only be cutting the short side of full EPS blocks and I didn't want wires burning out when cutting thinner material.

Hotwire Power Supply
The unit weighs next to nothing and is quite compact so I mounted it to the hotwire bow for ease of adjustment. You can get optional wire with the banana connectors on request.

Hotwire Termination
Mounting of the wire is achieved by looping it around a bolt in between 2 washers, a wingnut is then tightened to clamp the wire between the washers.  The end of the wire hangs out for easy connection to the power supply.

Hotwire Bow Spring Tensioner
The wire lengthens when heated so one end of the bow pivots on a socket head cap screw.  An old trampoline spring maintains the required spring tension.  Folded 50x3 aluminium flat bar is folded to form the opposite fixed connection as well as the hinge seen above.  Scraps of 45x35(?) pine were used for the arms but these might be upgraded to CF roll wrap tube when I have more time.

Freshly cut EPS without sanding...
This is the first board(HD Creeper 48) cut with the hotwire and the above foam is straight off the wire with no sanding whatsoever.

Tuesday, 28 January 2014

Board Building Project - HD Creeper 48 - Stage 1

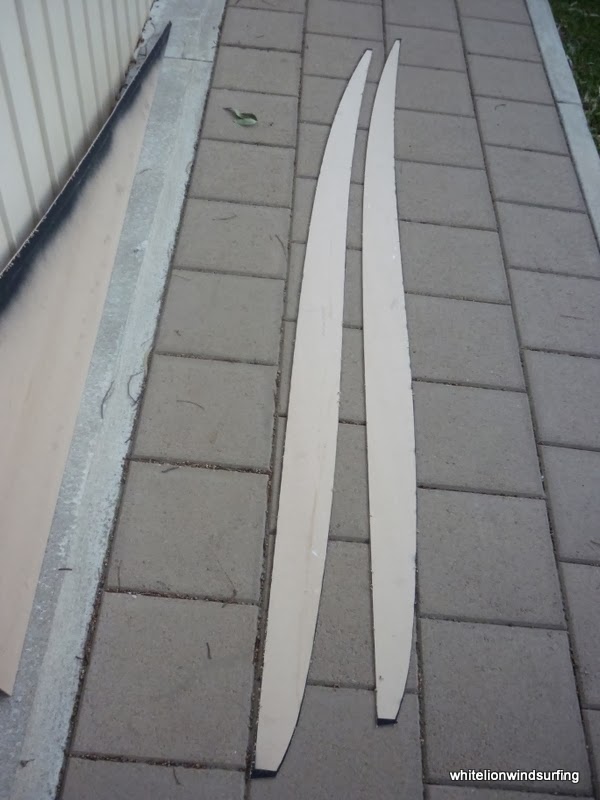
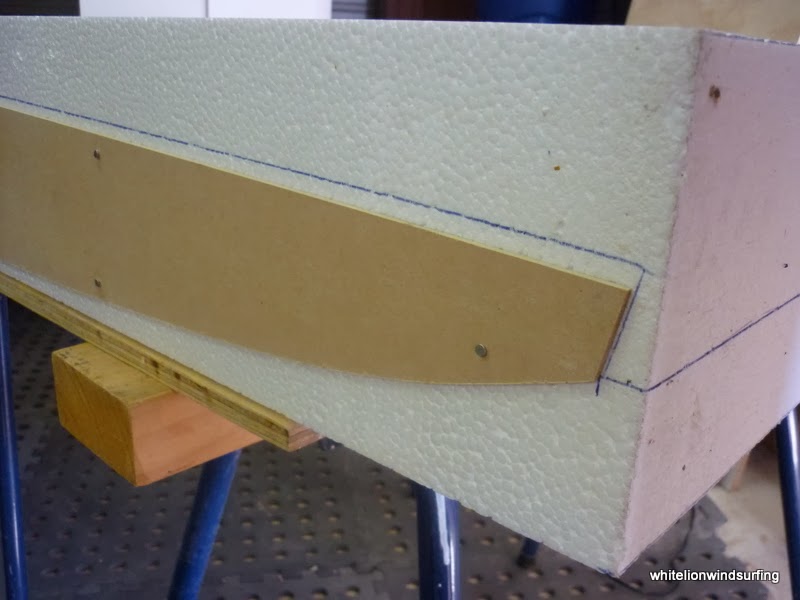
Well I am up to my elbows in foam again and I must say I have really missed it.  The last board I built was in 2007 and this time round I have done things properly and have not cut corners.  First up was a dedicated vacuum system followed by a new hot-wire bow with dedicated power supply(not just a battery charger putting out whatever current it factory set). I am also cutting full size 3mm MDF hot-wire templates, I used to use thick cardboard which could get burnt if the hot-wire got snagged.

So far I have:
Designed the board and printed full size templates on my A0(roll) printer.
Cut full size templates for center rocker, side rocker(to form the vee), plan and tuck templates.
Cut each side of the board with its panel vee.
Laminated the halves together with a 3mm PVC stringer to preserve the intended rocker line.

Here are the progress pics:


Thursday, 23 January 2014

Board Building Project - HD Creeper 48

Well my Lake George Speed Sailing trips are only a month away so what better time to start a speed board!

I am a bit of a Minecraft fan and I like how Creepers sneak up on you and all you hear is a little sssssSSSS before the blow you to smithereens, hence the name.  Hopefully I don't blow anyone else up using the board as I think I shopped in the close shave department last year...

Shape
The board will be slightly narrower and longer than my previous speed board (JP Speed 49) and I have settled on 48 wide x 245 long.  The rocker is nice and gradual with low nose lift and there is a small amount of tail kick to free the board at the top end.  A simple panel vee will form the bottom contour with the deck getting a slight concave for increased stiffness and reduced nose lift.

Construction
I will be using as many scraps and offcuts as possible except for the core, I have purchased a half size SL grade (~12kg/m3) block(120x60x250cm) for this and future boards .  Deck sandwich will be 3mm H80 Divinycell with the hull in 6mm H100.  Both of these are perforated but that is all I could get locally when I purchased materials for my last board in 2007.  In my next board I will probably use corecell as I have heard that it is easier to work with and maybe airex.  Skins will be a glass hull with full carbon deck(200g twill).  I am only using the board at Lake George and temperatures only get to the high 20's, low 30's so I'm not concerned about overheating.

Fittings
I have leftover foot strap inserts, a mast track and Tuttle box from previous builds and have gone the Goretex breather route getting a nice little unit from Shapers on the Gold Coast. I have some 1/2" PVC foam and may encase the track and box this time as I am not as concerned with weight on a speed board.

Method
I will hotwire as much of the bottom shape as possible including the vee,  the outline will then be cut using templates as well.  See my hotwire here: (coming soon).  I will break down each of the build steps into a separate post as they are completed.

Here are some more renderings of the design:
HD Creeper 48

HD Creeper 48 Tail


HD Creeper 48


HD Creeper 48


HD Creeper 48 Nose


Thursday, 16 January 2014

DIY - Vacuum Bagging System


The "Smart Little Sucker"
With a few board designs in the pipeline it was time to upgrade my vacuum pump to a system with vacuum pressure control. Up until know I have used the cheap fridge pump option and while you may save a lot of money on the initial outlay you soon loose money if you damage a blank(or 2 as I did!!!!) using excessive vacuum pressure.  The vacuum pressure control is achieved by using a tee fitting with a ball valve in combination with a vacuum gauge. While this setup may be good for small bagging jobs and high vac pressures with robust moulds I have had problems bagging boards where the vacuum pressure is stable for several hours and then a leak or hole suddenly seals itself and the pressure goes throught the floor(really low ;). Since the vacuum has to be maintained for 12 hours or so this makes bagging overnight risky.

My old fridge pump system.

The pump was fan cooled on big jobs.

The next step up from using a ball valve is a diaphragm and reed switch but I am not a fan of this version due to the lack of precise control as well as questionable electrical safety.

I wanted precise vacuum control without the pump having to run continuously and came across this veneer vacuum system from Veneer Supplies.Com: http://www.veneersupplies.com/products/Project-EVS-Auto-Cycling-Pump-Vacuum-Press-Kit.html

I was able to scrounge most of the required components from the parts bin at work except for a vacuum controller. I decided to use an SMC electronic vacuum switch for accurate control and the hysteresis function to reduce frequent pump switching.

The need for a small footprint as well as portability meant than I had to stack the components using a plywood shelf system. This is the prototype which will probably stay this way - functional!

Working from the Air Fitting back there is a ball valve to isolate the system from the vacuum bagging line.  The ball valve is connected to the vacuum reservoirs(tubes of nothingness...) which are separated by a takeoff for the vacuum switch. 

Vacuum Reservoirs.

The reservoirs are then connected to a check valve(one way valve) to store the vacuum in the reservoirs.

Top view of Vacuum Reservoirs, Vacuum switch and Check Valve.
Connected to the check valve is a 3 way solenoid valve to relieve the vacuum pressure behind the check valve when the pump is switched off by the vacuum switch.  This stops the pump having the start under load. Next up is a under bench water filter which acts as both a line filter and sub reservoir.  The sub-reservoir allows the pump the run to full RPM without back pressure on the pump intake port. Connected to the filter is a small diaphragm pump which is oil free and super quiet when an exhaust muffler is fitted.

3 Way Valve, Sub-reservoir/Filter and Pump.
Below the pump is a small termination box housing the terminals, 24v Power Supply and Contactor.  The Vacuum switch outputs a signal to the contactor which switches off the pump and opens the exhaust valve at the desired vacuum pressure.

Terminals, Contactor and 24V P.S.
Next up is a test run on a new board or 2!

Monday, 16 September 2013

MxR UFO - Initial Impressions

We have finally had some wind after the Autumn doldrums which means some TOW! I have got to sail the MxR UFO 38 three times now.  Two of those sessions resulted in spot PB's so they seem to be working well!

MxR UFO 38
I have gone withe the UFO in my smaller blasting fins for control in the chop that we get at Boggy Lake.  34 is for use on my 90L slalom with a 6.9 & 6.2 and 38 is for the 112L slalom with 6.9 and possibly 7.7 if juiced up on flattish water.  I am using Katana  fins from 40cm up for a bit more raw power when the water is flatter and control is not as much of an issue.

MxR UFO 38 - MrL Slalom 112 - Avanti M-1 6.9
 I have found the UFO perfect for running the troughs and banging over the back of chop.  When you bear off with the UFO you have a great confidence that the fin will take whatever awkward chop forms kick up in your path.  Other fins, including some expensive carbons seem to get frisky and throw the board all over the place.  Maybe it is my average skill set but the UFO seems to allow me to go faster than ever before in average everyday conditions.  I also think the MrL 112 and Avanti M-1 have a part to play as they are the best board and sails I have used and they work well for me with the UFO.

MxR UFO 38 - MrL Slalom 112
 I would recommend the UFO to anyone wanting more control WITHOUT loss of speed in average choppy sailing conditions.  The fin is not highly strung and can be sailed on the redline all day without fatigue.

Monday, 6 May 2013

MxR UFO Wide 40 - Preview


I have kept a close eye on the the MxR story and after seeing the results at Luderitz I knew it was time to get my hands on a few fins to try out. The tiny assymetrical speed fins used at Lederitz are obviously pretty specalised kit but there are many more styles in the MxR range to chose from including fins of the same outline offered with multiple profiles. The only dedicated speed spot I visit is Lake George on South Australia's south east coast. The lake has high salinity and weed which sits just below the surface so a weed shedding feed is essential. I had no problems using the Vector Delta Weed Speed fins in 2012 which had a rake of 40degrees on the 23cm and I like the feel of the wide base speed fins. The MxR Range includes the Wide 40 which describes the leading edge rake midway down the leading edge. The curved leading edge is ideal as the tip third is about 45 degrees, the mid third around 40 and the base third 35. This means you get more rake where you need it and less where you don't.

I received my MxR fins via express from the factory in Poland.  The fin quality is first class and the premium cover protects you investment nicely and has some nice pockets for fin screws.  I did have to sand the head slightly to fit the board but I would rather this than having a sloppy fit that requires shims.  A bit of floor wax helped the fin in the box as the head seems to be a urethane with an elastomer that can grip the box if the fit is a little tight.

My last speed session of the season was just a bit late for optimum Lake George conditions and the wind was frontal, not the usual constant seabreeze.  The northerly meant that the water was blowing from the lake onto the dry lake bed to the south that you usually drive over and a lot of weed beds were exposed as a result.

I headed out on my trusty JP49 and newly acquires 6.1 Avanti with the UFO Wide 22.  The MxR UFO Wide 40 22cm was shedding weed well but you had to start in a muddy patch as the water was getting low from the wind blowing the water away. The fin went upwind like a pointer and was nice down as well. I really felt the shallow water and thick weed limiting peaks in the 44's but only really managed to get 2 proper cracks at 10s as the wind went from 20-30 to 30 with 40 knot random bullets.

In hindsight I should have perhaps pushed past the comfort barrier and tried a few more runs but I had to get back on the road for the 4hr drive home.  All in all the session gave a good first impression of the UFO wide 22 as not just a good replacement for the 23 Delta Weed Speed(previous PB fin) but an improvement also as the tip felt stiffer and was transferring all the rider power it received.  I also purchased the 26 as a replacement to the delta 27 which will have to stay dry until later in the year!

I look forward to using the fin a few more times before I write a detailed review...


26 & 22cm MxR UFO Wide 40

MxR UFO Wide 40 covers

26 & 22cm MxR UFO Wide 40 covers

Nice de-bossed MxR Logo on the Tuttle Head

22cm MxR UFO Wide 40 Foil Profile


Sunday, 9 September 2012

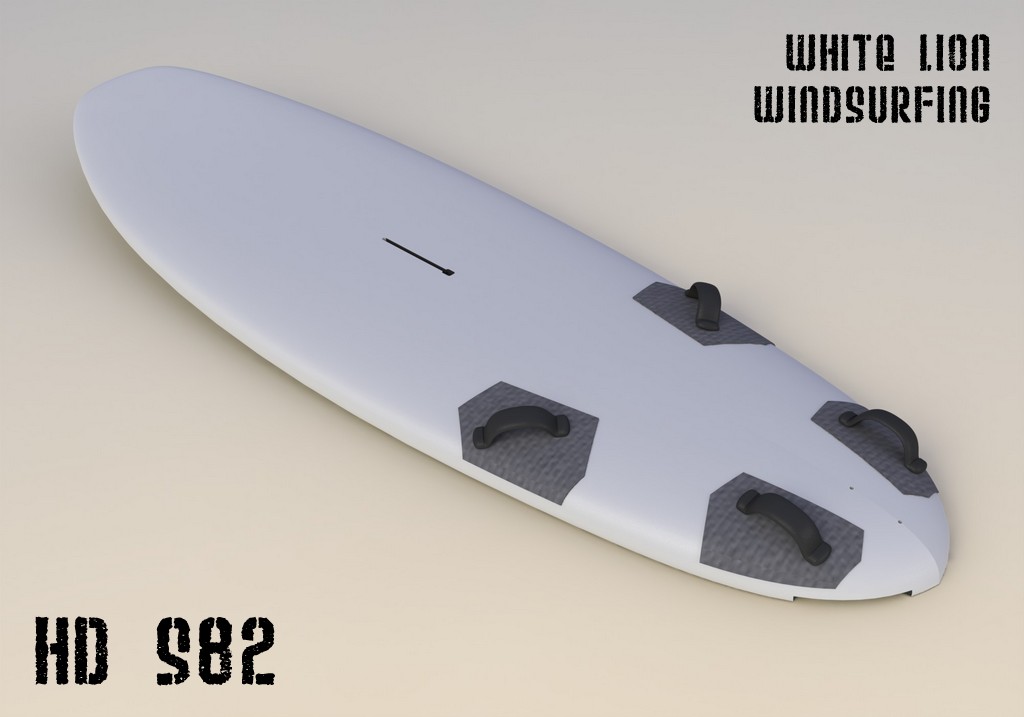
Board Building Project - HD S82

Well it has been a while since my last post so I thought I should get something up onto the blog.  I have been busy juggling a young family, a BIG cubby house project plus all the usual house jobs that seem to come up all too often.  I have tried to have a little fun along the way by getting out on the water(rarely) and dabbling in some design projects, one of which is a new light wind board. I started working on the design in February and it has slowly evolved in various directions to the point where I am now happy with it. Being a bigger guy I am just fedup with the selection of lightwind slalom boards currently on the market(with a few exceptions).  Most of them are hard to pop over the bow wave when it is marginal and they seem to stop when you gybe underpowered.  They basically have no coasting effect and need power whenever you want to do anything.  The volume(or lack thereof) on most boards is aimed at high wind control, not getting a big guy back to his launch.

The final design is not too wide at 82cm but has a much longer length of 250cm and a lower overall rocker of around 180mm.  I might lower the nose even more but it may be a problem in the Boggy Lake troughs.  Volume is a substantial 147L with a thickness of around 125mm at the front straps.  There will be 1.5mm of tail rocker with cutouts.  Construction with be a carbon/glass deck with a glass hull for comfort.  I hope to make a start when temperatures warm up a bit.